
Last updated October 9, 2026
Free visual inspection and a written scope of work before any mitigation begins - photos, moisture readings, and drying logs go in your claim file
The scope we write is the scope we bill. Anything new gets shown to you, in writing, before we touch it.


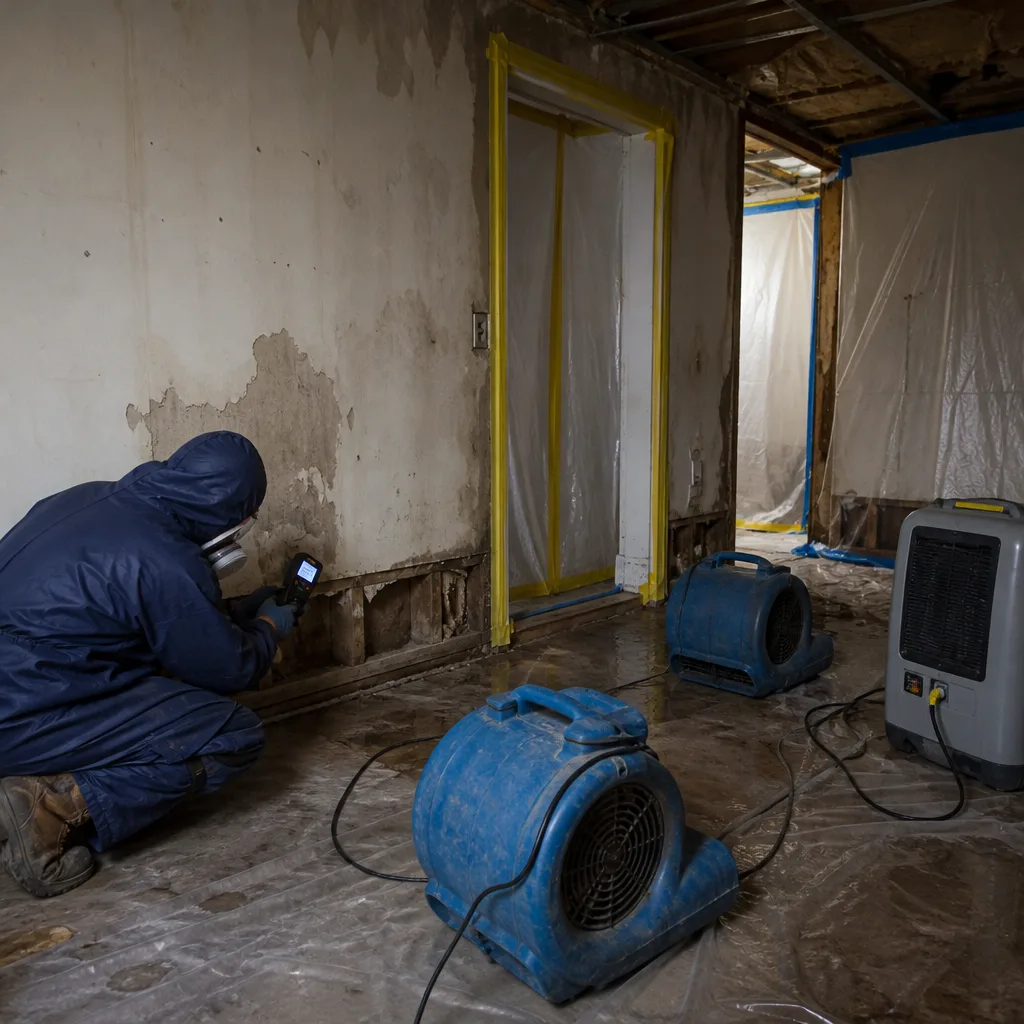 Before
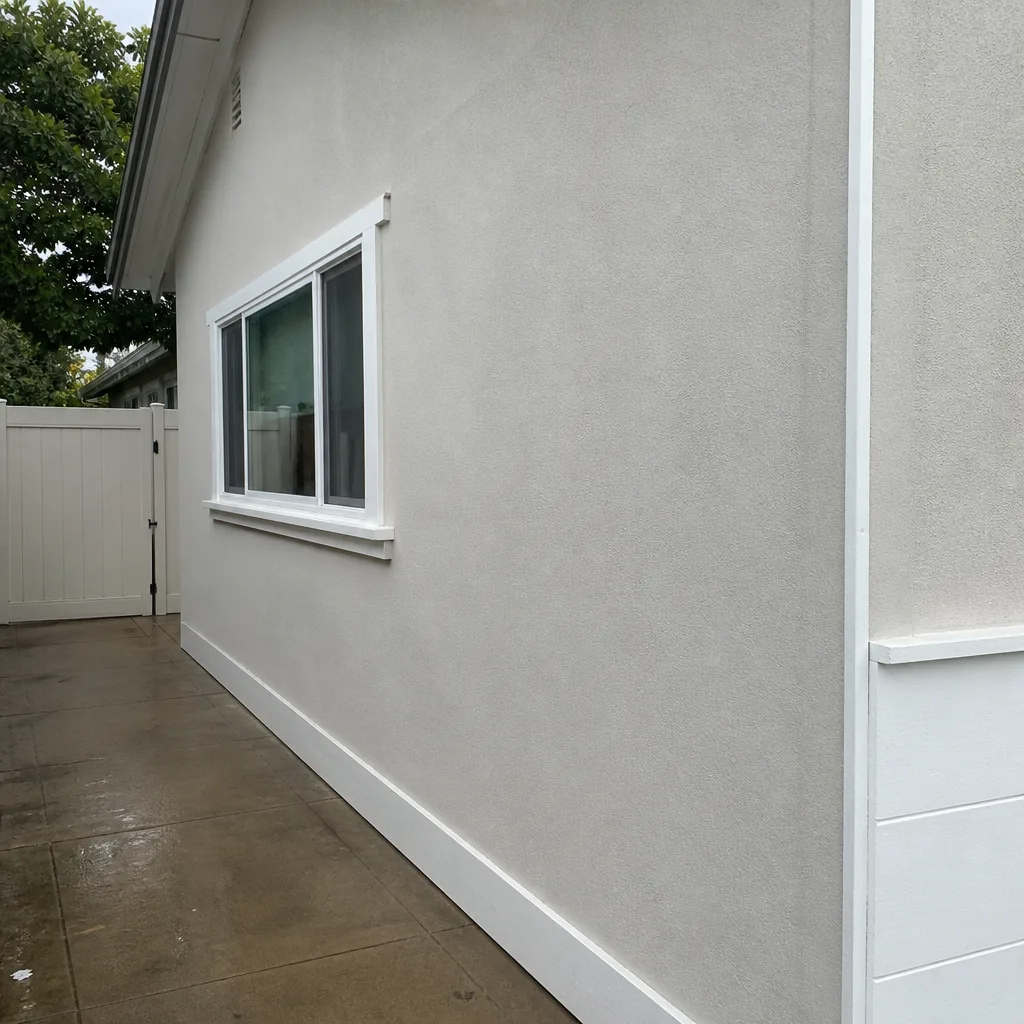 After
After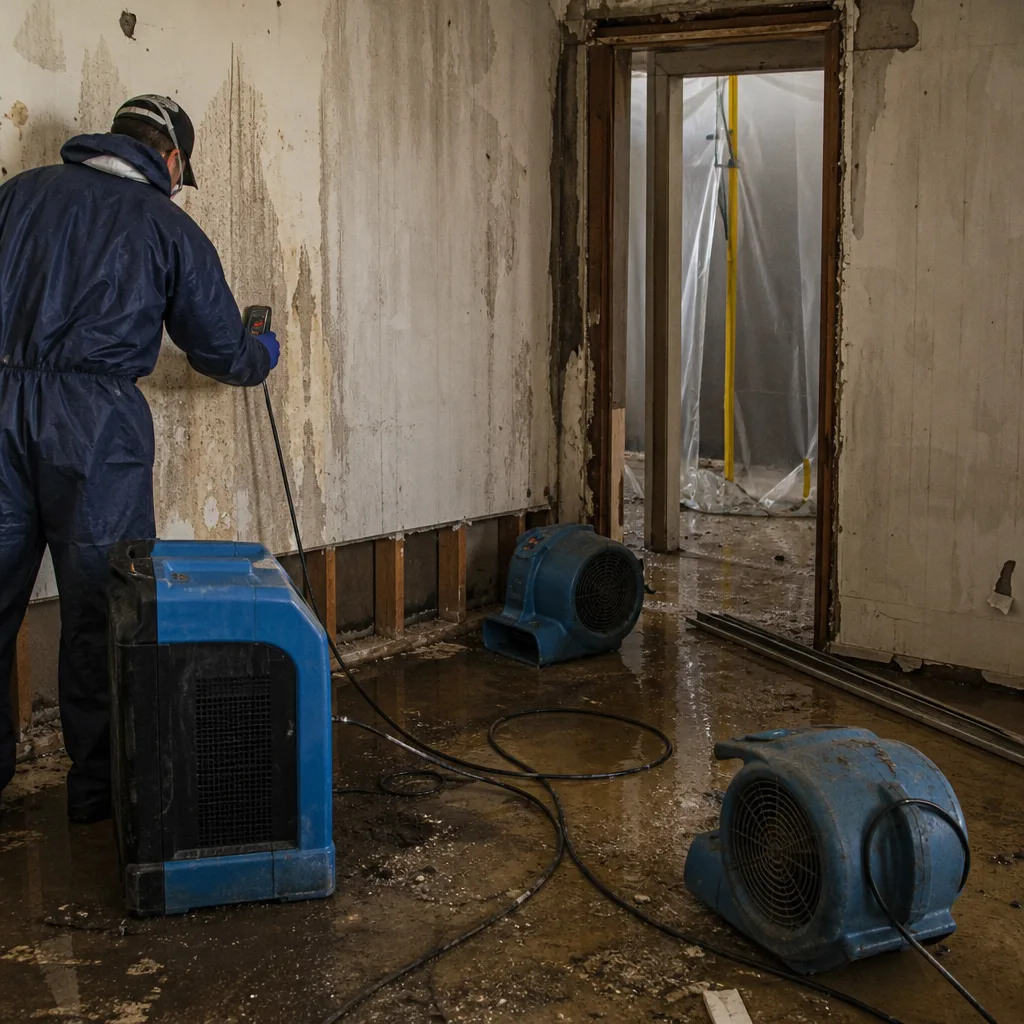 Before
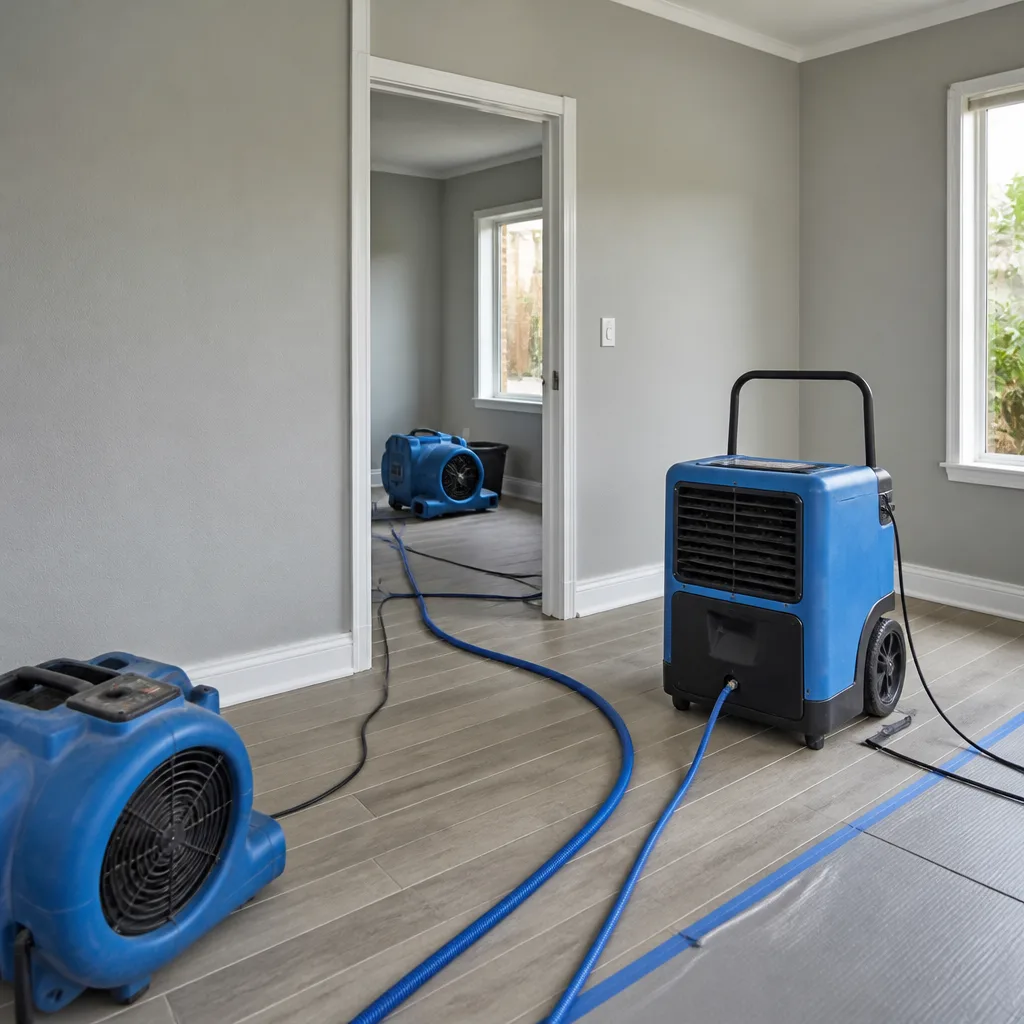 After
After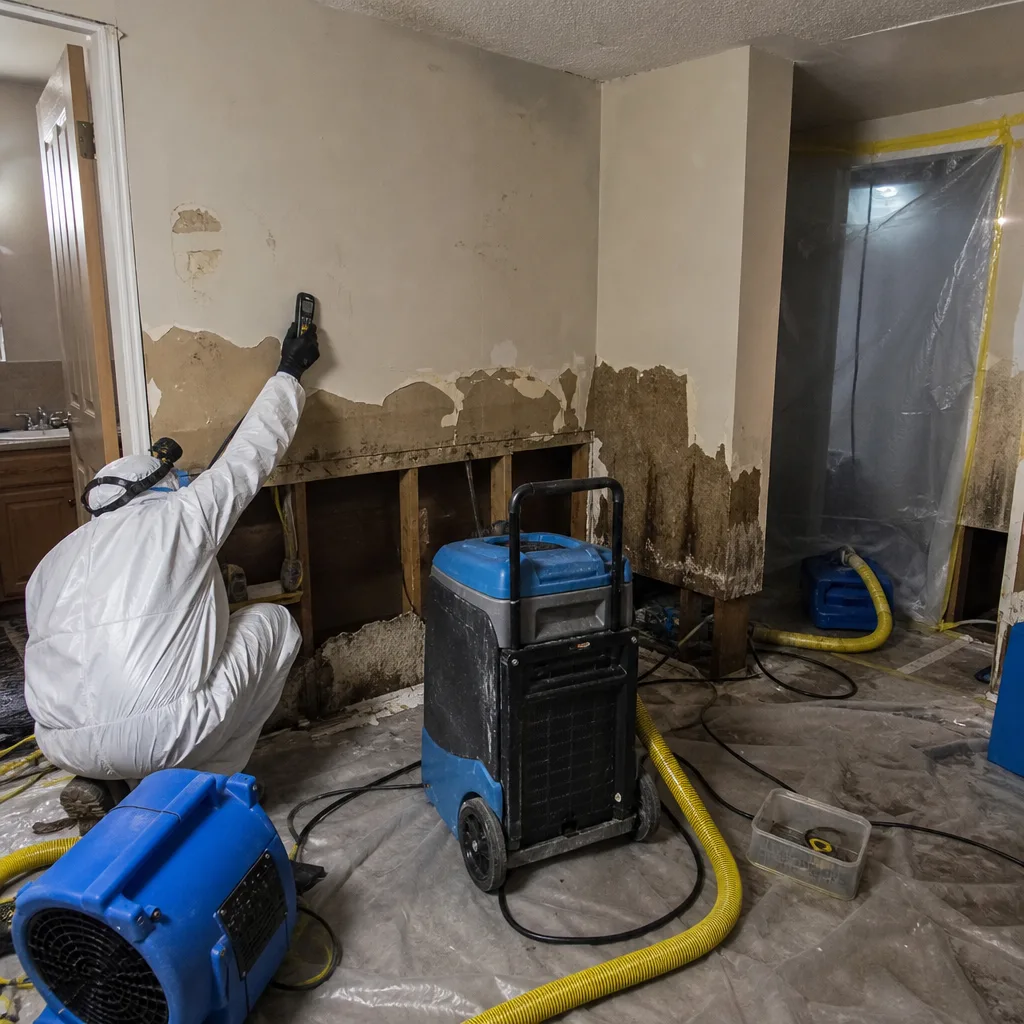 Before
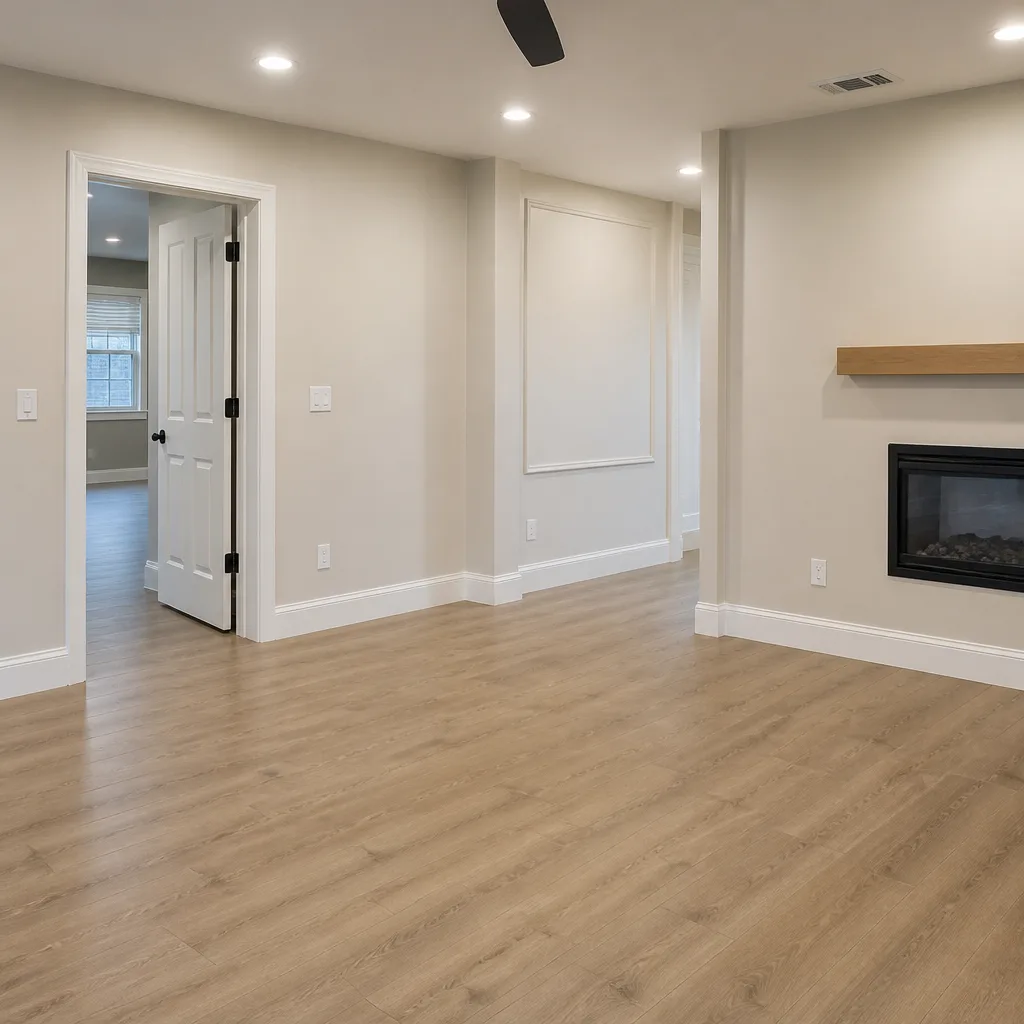 After
AfterDIY vs Professional Storm Damage Restoration: What’s Safe to Do Yourself
Replacing a broken fence panel yourself? Completely fine. Patching a roof tarp yourself? Fine short-term. But removing wet drywall and calling the space dry? That is the single most expensive DIY mistake in storm restoration, and it looks successful for exactly 14 to 21 days before the mold bill arrives. This guide, part of our Storm Damage Restoration series, sorts storm damage tasks not by how hard they are, but by what happens when they fail silently. We’ve seen enough Los Angeles homes after Pacific storms to know exactly where the line sits between a weekend project and a five-figure secondary damage claim. Here’s how to tell the difference before you touch anything.
Quick Answer
Safe DIY storm restoration means debris removal, temporary tarping, documentation for insurance, and cleaning up standing water from non-porous surfaces only. Anything that involves opening walls, removing baseboards, or touching wet electrical or structural members needs professional moisture testing first, because “feels dry” is not a measurement, and hidden moisture is where mold starts. In Los Angeles, where stucco hides structural rot and pre-1980 homes may contain asbestos, the wrong DIY move can cost more than the original storm damage.
Table of Contents
- The Real Question: Failure Modes, Not Skill Level
- Safe DIY: What You Can Do Right Now
- Supervised DIY: Tasks That Need Testing First
- Do Not DIY: The Three Categories That Break Budgets
- Why “Feels Dry” Is Not a Measurement
- What DIY Does to Your Insurance Claim
- Los Angeles-Specific Risks: Stucco, Asbestos, and Sloped Lots
- The Cost Math: When DIY Costs More Than Professional Help
The Real Question: Failure Modes, Not Skill Level
Most DIY vs Professional Water Damage Restoration: What’s Safe to Do Yourself guides treat the question like a difficulty rating. They rank tasks from easy to hard and suggest you tackle the easy ones. But that framework misses the entire point. A task can be physically easy and still be a terrible DIY candidate because its failure mode is invisible. Patching a hole in drywall is easy. Patching a hole in drywall that still holds 18% moisture at the stud is also easy. The first one stays fixed. The second one grows mold behind the patch for three weeks before you smell it. Same task, same skill level, opposite outcomes.
We sort storm restoration tasks by what happens when you get it wrong. If the failure is visible and cheap to correct, it’s a safe DIY task. If the failure is invisible and expensive to correct, it belongs in the professional column regardless of how simple the work looks. This is why a weekend warrior can handle a fence panel but shouldn’t touch a baseboard after a flood. The fence panel falls over and you see it. The baseboard hides a wet sill plate that rots silently for months.
In Los Angeles, this distinction matters even more than in drier climates. Our wet season compresses into a few intense months, and homes built for dry weather don’t dry out the way homes in Seattle or New Orleans do. Wall cavities in older LA homes often lack proper ventilation, which means trapped moisture lingers longer and mold establishes faster than you’d expect from our generally dry reputation.
Safe DIY: What You Can Do Right Now
The following tasks have visible, cheap-to-correct failure modes. You can do them yourself with standard household tools, and if you get something slightly wrong, you’ll notice immediately and the fix won’t require a second mortgage. These are the tasks we actively encourage homeowners to handle before any professional arrives.
Clearing Debris and Securing the Site
After a storm, the first priority is preventing additional damage. Downed branches against siding, leaves clogging drains, loose roof tiles sitting in the yard: all of these are safe to handle with gloves and common sense. Clear the area around your foundation. Bag loose debris. Set aside anything that may be evidence for an insurance adjuster. Your insurer wants to see the branch that punctured the roof, not just the hole it left behind.
Temporary Tarping and Covering
If your roof has a visible hole or missing shingles, a temporary tarp is the single most cost-effective thing you can do in the first hour after the storm passes. A properly secured tarp prevents water from continuing to enter the structure, which means the restoration scope stays small. Use furring strips or sandbags to anchor the tarp, not just staples. A staple-only tarp catches wind and becomes a sail. A tarp with wooden strips screwed over the edges holds through the next rain event.
This is also a case where speed matters more than perfection. A crooked tarp that keeps water out is worth more than a perfectly trimmed tarp installed three days later. The water that enters while you wait is the water that turns a $3,000 restoration into a $15,000 mold remediation.
Photographing and Documenting Damage
Before you move, remove, or dry anything, take photographs. Wide shots of every affected room. Close-ups of water lines on walls, wet carpet, and ceiling stains. Photos of the exterior, the roofline, the grading around your foundation. Your phone’s timestamp is your friend here. When an adjuster asks what the damage looked like on day one, you want to show them day one, not day four after you’ve already dragged the wet sofa to the curb and mopped the floor.
Documentation is the one DIY task that actually increases your claim payout. Insurance companies pay based on evidence. More evidence, better payout. The homeowners who photograph everything before touching anything are the homeowners whose claims go smoothly and fully pay out.
Removing Standing Water from Non-Porous Surfaces
Tile floors, concrete slabs, sealed hardwood in short exposure windows: mopping and shop-vaccing standing water off these surfaces is safe DIY work. The key phrase is “non-porous.” If water has pooled on a surface that cannot absorb it, you can remove it without professional equipment. Use a wet-dry vacuum where possible. Set up box fans. Open windows if the outside air is drier than inside air, which in Los Angeles after a storm, it usually is.
What you cannot do is extract water from carpet, pad, drywall, or insulation. Those materials hold water internally, and surface drying only masks the saturation underneath. A carpet that is dry on top but wet in the pad will still grow mold at the backing layer. This is where the safe DIY column ends and the supervised DIY column begins.
Supervised DIY: Tasks That Need Testing First
Supervised DIY means you can do the physical work yourself, but only after a professional has confirmed the underlying conditions are safe. The most common example: patching small drywall holes in areas that have been tested and confirmed dry. You don’t need a technician to hold the putty knife for you. But you do need someone with a moisture meter to tell you the surrounding studs, insulation, and framing are genuinely dry before you seal anything up.
Here is the numbered sequence for any supervised DIY repair:
- Test first. Have a professional check the moisture content of the surrounding materials with a calibrated moisture meter. The number matters more than the feel. Wood below 16% moisture content is generally safe to enclose. Above 16%, it’s still drying.
- Confirm the source is fixed. If the water came from a roof leak, confirm the roof is repaired. If it came from a window, confirm the flashing is corrected. Patching drywall before fixing the water source is repainting a sinking boat.
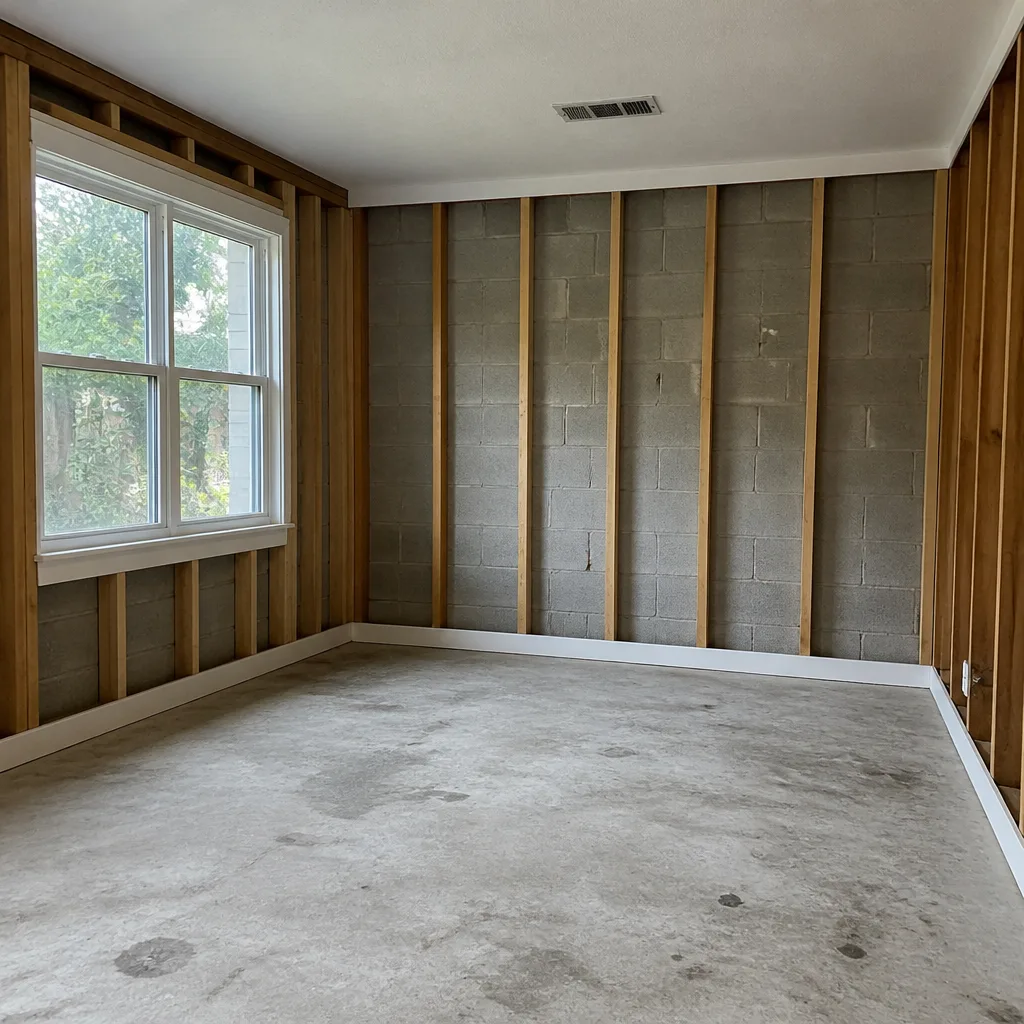
- Cut back to dry material. Remove any drywall that reads elevated moisture, plus a margin of a few inches into confirmed-dry material. Wet drywall cannot be saved. It wicks moisture and loses structural integrity even if it feels firm.
- Dry the cavity thoroughly. Use fans and dehumidifiers to dry the exposed stud bays before closing them up. In Los Angeles, this might take three to five days depending on the season and the extent of saturation.
- Re-test, then patch. A final moisture reading should confirm the cavity is dry before you hang new drywall. This is the step most DIYers skip, and it is the one that determines whether your patch job lasts five years or five weeks.
Supervised DIY also includes repainting after professional drying, reinstalling baseboards in areas that have been professionally tested, and re-hanging doors that were removed during the mitigation process. None of these require special skills. All of them require confirmed-dry conditions first.
Do Not DIY: The Three Categories That Break Budgets
Three categories of storm damage repair should never be DIY, regardless of how handy you are. Each has a failure mode that is invisible, expensive, or dangerous, and in most cases, all three at once.
1. Anything Involving Structural Members
Structural members are the bones of your house: joists, studs, rafters, sill plates, beams. When these get wet, they don’t just need to dry. They need to be assessed for strength loss, warping, and rot. A sill plate that sat in water for 36 hours may look fine from the outside while losing a significant percentage of its load-bearing capacity. You cannot assess structural integrity by looking at wood. You need a professional who measures moisture levels and understands how wet wood behaves under load.
In Los Angeles, the structural risk is compounded by stucco exteriors. Stucco hides what’s happening behind it. Water gets in around windows, doors, and foundation cracks, soaks the framing, and you don’t see a single sign of it from the outside until the wall starts to sag or the stucco cracks. By then, the repair is a structural project, not a drying project.
2. Electrical That Got Wet
Water and electricity are a combination that needs no explanation. But the danger extends beyond the obvious. An outlet that got wet and now works fine is not fine. Water inside a wall can corrode wiring connections, energize wet insulation, and create fire risks that don’t show up for weeks. If your home took water into a wall cavity that contains wiring, that circuit needs evaluation by an electrician before you touch anything near it. Shut off the breaker. Don’t turn it back on until a professional has looked at the wiring. This is not a cautious suggestion. It is the difference between a restoration project and a house fire.
3. Material Removal Before Moisture Testing
This is the one we see go wrong most often in Los Angeles. A homeowner pulls up wet carpet, cuts out damp drywall, sets up fans, and declares the space dry. It looks dry. It feels dry. Three weeks later, the mold smell arrives. The problem: without moisture testing before demolition, you have no idea how far the water actually traveled. Water wicks up drywall, travels along base plates, and pools in low spots you can’t see. If you remove only the visibly wet material, you leave hidden moisture behind. And the material you removed is now gone, so there’s no evidence of where the water line actually was.
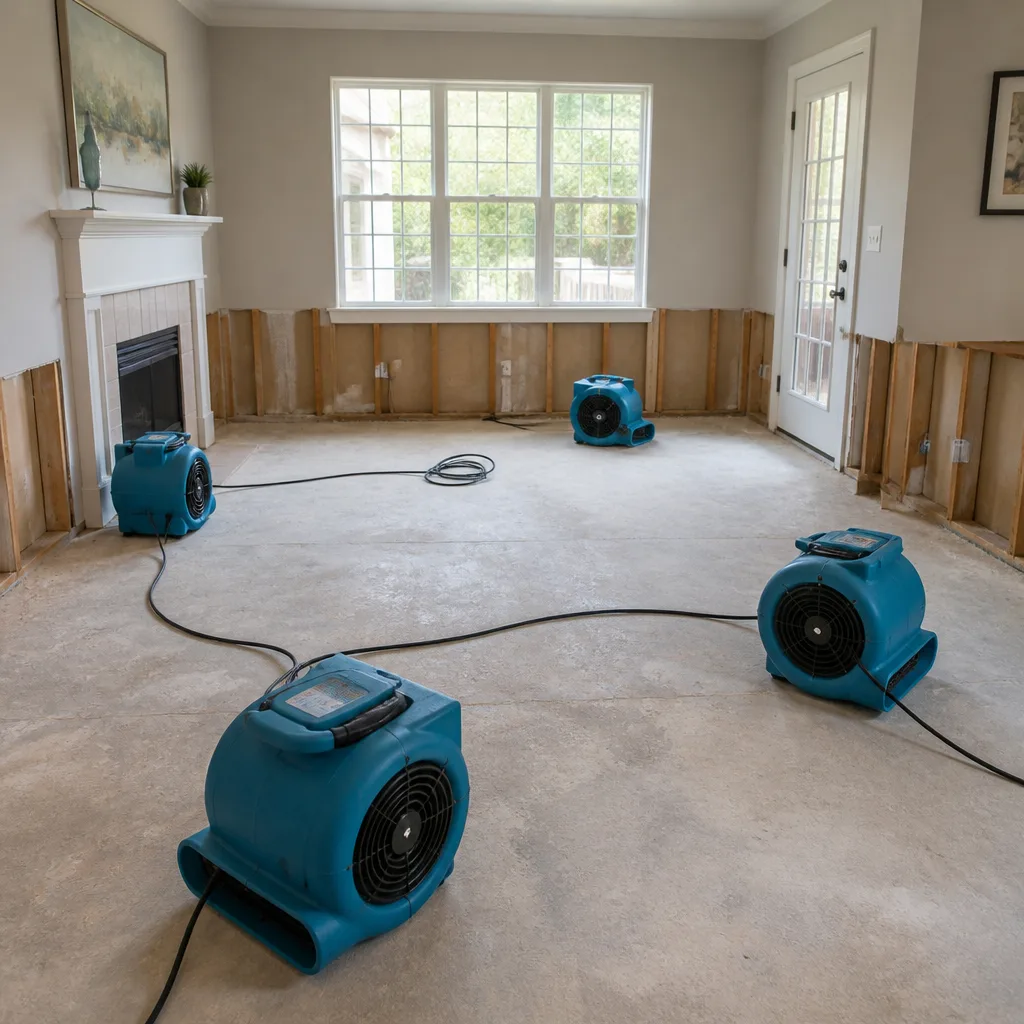
This mistake is expensive because mold remediation timelines and costs typically run three to five times what professional drying would have cost in the first place. The professional equipment, including Phoenix and XPOWER dehumidifiers and air movers, is designed to dry cavities to measurable standards. Box fans are not. The sequence matters: test, then remove, then dry, then test again, then rebuild.
Why “Feels Dry” Is Not a Measurement
A professional-grade moisture meter reads the moisture content of wood and drywall as a numerical percentage. It does not guess. It does not rely on how the surface feels to a human hand. A wall can feel bone-dry to the touch while the stud behind it reads 24% moisture content. At 24%, that stud is a mold factory waiting to bloom. At 16%, it’s stable. The difference between those two numbers is invisible to every human sense.
We use two types of meters. Pin meters push two small probes into the material and measure electrical resistance between them, which correlates to moisture content. Pinless meters use electromagnetic signals to read moisture at depth without penetrating the surface. Both produce a number. That number is what tells us whether a cavity is genuinely dry or just dry on the surface. In the restoration industry, we also use psychrometric readings, which means measuring the moisture in the air itself, to determine whether drying conditions are actually pulling water out of the structure or just circulating damp air around it.
Drying equipment matters here too. Residential dehumidifiers from a hardware store pull a few pints of water per day from the air. Professional equipment from companies like Phoenix and B-Air pull gallons per day and are designed to run continuously for days or weeks. When we set up drying equipment in a Los Angeles home after a storm, we calculate the cubic footage of the affected space, measure the moisture load in the materials, and configure the equipment to match. A homeowner with two box fans and a rental dehumidifier is guessing. Guessing works often enough to feel safe. It fails often enough to keep us busy.
What DIY Does to Your Insurance Claim
Your homeowner’s insurance policy has two relevant clauses. The first requires you to take reasonable protective measures after a loss, which means tarping the roof, removing standing water, and preventing additional damage. The second requires that permanent repairs be authorized by the insurer. Unpermitted DIY repairs can reduce or void your claim payout. This is not a hypothetical. We’ve seen claims denied because a homeowner tore out wet drywall before an adjuster could document it, leaving no evidence of the water line the insurer needed to see.
The sequence your insurer expects looks like this: protect the property, document the damage, file the claim, wait for the adjuster, then begin permanent repairs. Temporary measures are fine. Permanent repairs before authorization are not. When you do your own demolition before the adjuster visits, you destroy the evidence your claim depends on. The insurer cannot verify the scope of the damage, so they assume the minimum and pay accordingly.
Professional restoration companies work with adjusters every day. We document everything, photograph before and after, and provide the moisture readings and scope-of-work reports insurers need to process claims fully. If you have a restoration company on site, your claim moves faster and pays more completely. That is not a marketing claim. It is a structural fact about how insurance documentation works.
For Los Angeles homeowners specifically, this matters because storm claims here often involve multiple coverage types: wind damage, flood damage, and sometimes earthquake-related water intrusion if the storm follows seismic activity. The documentation requirements are more complex, and the adjuster’s scrutiny is higher. The more professional the paper trail, the smoother the claim.
Los Angeles-Specific Risks: Stucco, Asbestos, and Sloped Lots
Los Angeles storm damage presents differently than storm damage in other parts of the country. Our homes are built for a dry climate, and our wet season arrives as a series of intense atmospheric rivers that dump months of rain in a matter of days. That concentration of water overloads drainage systems, saturates soil, and finds every opening in a house that was built for sunshine. Three LA-specific factors deserve attention before any DIY work begins.
Stucco Hides Structural Damage
Most Los Angeles homes are clad in stucco, and stucco is very good at hiding what is happening behind it. When water penetrates a stucco exterior through a crack, a window flashing failure, or a foundation joint, it soaks the framing behind the stucco. The stucco itself may show no visible sign of trouble for months or years. You cannot assess water damage behind stucco by looking at the outside of a house. You need moisture meters, and in some cases, you need to drill small inspection holes to measure what’s happening in the wall cavity. This is not a DIY diagnostic. It is a professional one.
Asbestos in Pre-1980 Homes
A significant portion of Los Angeles’ housing stock predates 1980, which means popcorn ceilings and some flooring materials contain asbestos. Disturbing those materials without proper testing and abatement releases asbestos fibers into the air. Storm damage that affects a popcorn ceiling in a pre-1980 home requires professional assessment before any material removal happens. Wet crumbling popcorn ceiling is not something to scrape off yourself. The exposure risk is real, and the testing is cheap compared to the health consequences of getting it wrong.
Sloped Lots and Hillside Drainage
Los Angeles is built on hills, and hillside homes face drainage dynamics that flat suburban lots never see. Water flows downhill through your property, under your foundation, and into your neighbor’s yard. A storm that saturates a hillside above your home can push water into your foundation from the uphill side, creating hydrostatic pressure that forces water through slab cracks and foundation joints. DIY drainage fixes often move water from one problem area to another instead of solving the underlying grading issue. Professional assessment includes evaluating the entire drainage path, not just the puddle in your garage.
The Cost Math: When DIY Costs More Than Professional Help
We want you to understand the economics here because they are counterintuitive. DIY feels cheaper. It usually is not, especially for water-affected areas over about 20 square feet. Here is the arithmetic.
Renting a commercial dehumidifier and a few air movers from a big-box tool rental counter in Los Angeles costs roughly $150 to $250 per day, depending on the equipment size. A proper dry-out for a moderately affected room takes three to five days. You are now $450 to $1,250 into rental costs, and you are running equipment that you do not know how to configure. If the dry-out is incomplete because your moisture assessment was wrong, the mold remediation bill starts around $3,000 for a small affected area and climbs from there.
Professional water mitigation for a similarly sized space typically runs $2,500 to $5,000 in Los Angeles, and that includes the moisture testing, the equipment, the monitoring, and the guarantee that the space is genuinely dry before rebuild begins. When we lay out a written price before any work starts, you know exactly what the drying phase costs. There is no guess. And if the repair is not right within 365 days, the Marsh Water Damage Restoration Promise means we make it right with a free second visit. That written guarantee changes the risk calculation on the professional side completely.
For areas under 20 square feet, the math can favor a careful homeowner who follows the supervision sequence we described earlier: test, confirm, repair, test again. For anything larger, the professional route usually costs less than the DIY route’s failure rate would suggest. Most residential water extractions in Los Angeles run between $2,000 and $6,000 before rebuild work begins, and the variable is almost always the extent of hidden moisture, not the visible water. That variable is exactly what professional moisture testing removes from the equation.
Common Mistakes to Avoid
- Using box fans and expecting professional results. Box fans move air but they do not remove moisture from the structure in any measurable way. The air moves, the water stays, and the mold grows anyway. Professional drying requires dehumidification, not just airflow.
- Pulling wet carpet before documenting the damage. The carpet, pad, and water line are evidence for your insurance claim. Once they are at the curb, your adjuster has nothing to photograph and your claim settlement shrinks accordingly.
- Sealing up walls based on how they feel. A wall that feels dry can still hold enough moisture at the stud level to grow mold within weeks. The only way to know is a moisture meter that produces a number, not a sensation.
- Ignoring the water you cannot see. Storm water travels down walls, under baseboards, and along plumbing chases. If water entered on the second floor, it is probably in the first-floor ceiling. Mapping the full path of water movement is a professional skill that comes from seeing hundreds of losses.
- Treating mold as a cleaning problem rather than a drying problem. Mold in a wall cavity means the cavity is still wet. Cleaning the visible mold without fixing the moisture source guarantees the mold returns, usually within weeks. The root cause is the water, not the mold.
- Delaying temporary tarping because the roof “doesn’t look that bad.” A small roof opening admits more water than you think, especially during a Los Angeles atmospheric river event that drops rain for 48 hours straight. Tarp immediately, even imperfectly.
When to Call a Professional
Call a professional if any of these conditions apply: water entered a wall cavity or ceiling, the affected area exceeds roughly 20 square feet, electrical outlets or wiring got wet, a popcorn ceiling in a pre-1980 home was damaged, structural wood is visibly wet or sagging, or you smell mold or mustiness more than 48 hours after the water event. These conditions share a common thread: the failure mode of getting it wrong is invisible and expensive, and the cost of professional assessment is far lower than the cost of professional remediation later. Marsh Water Damage Restoration offers free estimates in Los Angeles. A live person answers the phone 24/7 at (910) 613-6568, and we will tell you honestly whether your situation is a supervised DIY job or a professional one.
Frequently Asked Questions
You can safely handle debris removal, temporary roof tarping, photographing damage for insurance, and removing standing water from non-porous surfaces like tile and concrete; see our more guides & resources for detailed step-by-step help. Anything that involves opening walls, pulling wet carpet or pad, or touching wet electrical requires professional moisture testing and assessment first.
You cannot know without a moisture meter that produces a numerical reading. Surface feel is not a measurement. Professional moisture testing reads wood and drywall moisture content as percentages, and the difference between safe-to-close and mold-risk is invisible to human touch. Call us at (910) 613-6568 if you need a moisture assessment before closing up any wall cavity.
Most Los Angeles homeowner’s policies cover wind and rain damage, but permanent repairs require adjuster authorization before work begins. Temporary protective measures like tarping are expected, but demolition before documentation can reduce your claim payout. Professional restoration documentation, including photos and moisture readings, helps claims process fully and quickly.
Most residential water extraction and drying jobs in Los Angeles run between $2,000 and $6,000 before any rebuild work begins. The final number depends on how far the water traveled and how long it sat. A written price before work starts means you know the full scope up front, with no surprises after demolition reveals the true extent of the damage.
You can rent dehumidifiers and air movers from equipment rental stores, but without a moisture meter and the training to interpret the readings, you are guessing at whether the space is dry. Guessing wrong means mold grows in the walls you just sealed up. For affected areas over 20 square feet, the rental costs plus the failure risk usually exceed the professional quote.
In Los Angeles, after a major storm event, professional restoration companies are in high demand. Our live dispatch answers 24/7 at (910) 613-6568, and every technician arrives with identity verification per the Threshold Standard: you will know the name, see the photo before the visit, and the technician shows a photo ID badge at the door. Water damage does not wait for business hours, and neither do we.
The Bottom Line
Storm damage restoration is not about how handy you are. It is about which tasks fail loudly and which fail silently. Debris removal, tarping, and documentation are safe DIY work that every Los Angeles homeowner should know how to do. Material removal, drying, and anything structural or electrical belong in the professional column, not because the work is physically hard, but because the failure mode is invisible and expensive. Moisture testing is the dividing line. If you have not had a professional put a number on the moisture in your walls, you are guessing. And in Los Angeles storm restoration, guessing wrong costs more than hiring right the first time.
Written by Tobias Reyner, Owner at Marsh Water Damage Restoration, serving Los Angeles since 2005.