
Last updated October 9, 2026
Free visual inspection and a written scope of work before any mitigation begins - photos, moisture readings, and drying logs go in your claim file
The scope we write is the scope we bill. Anything new gets shown to you, in writing, before we touch it.
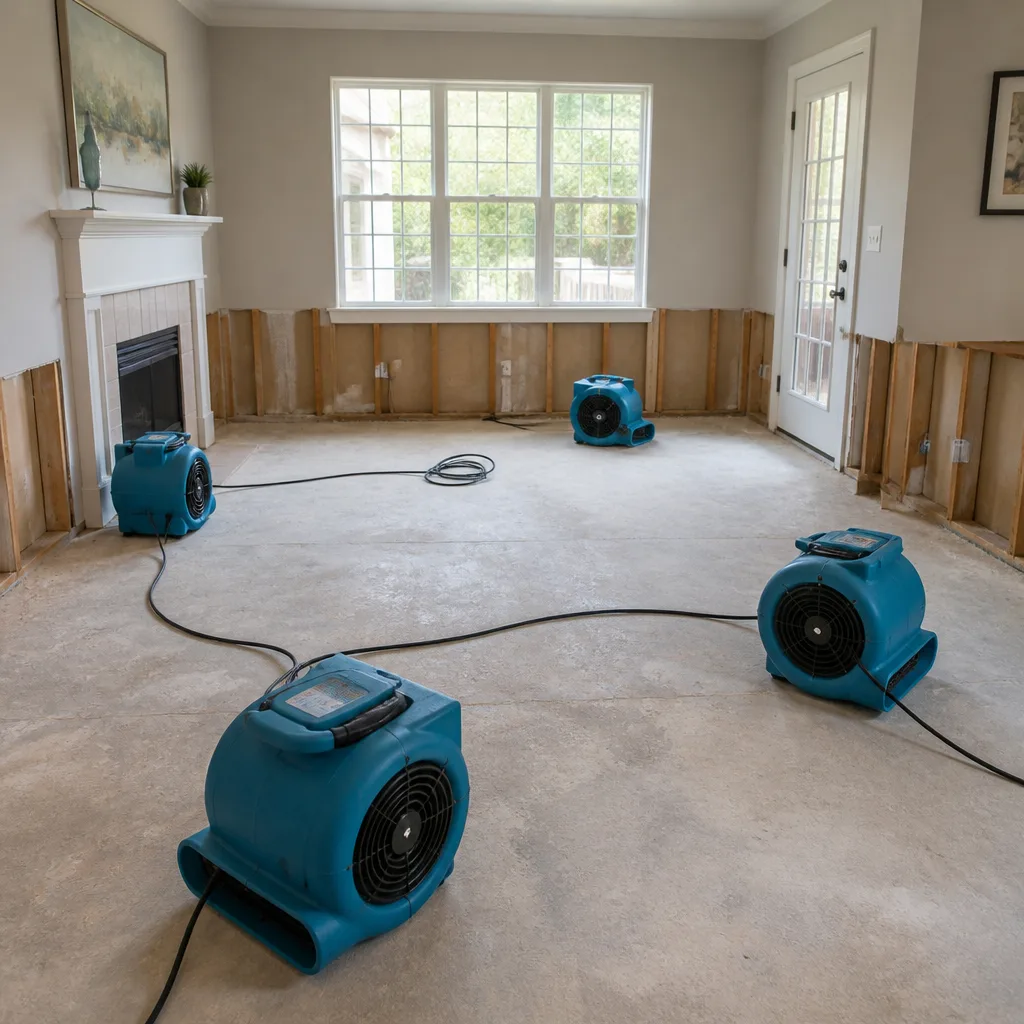

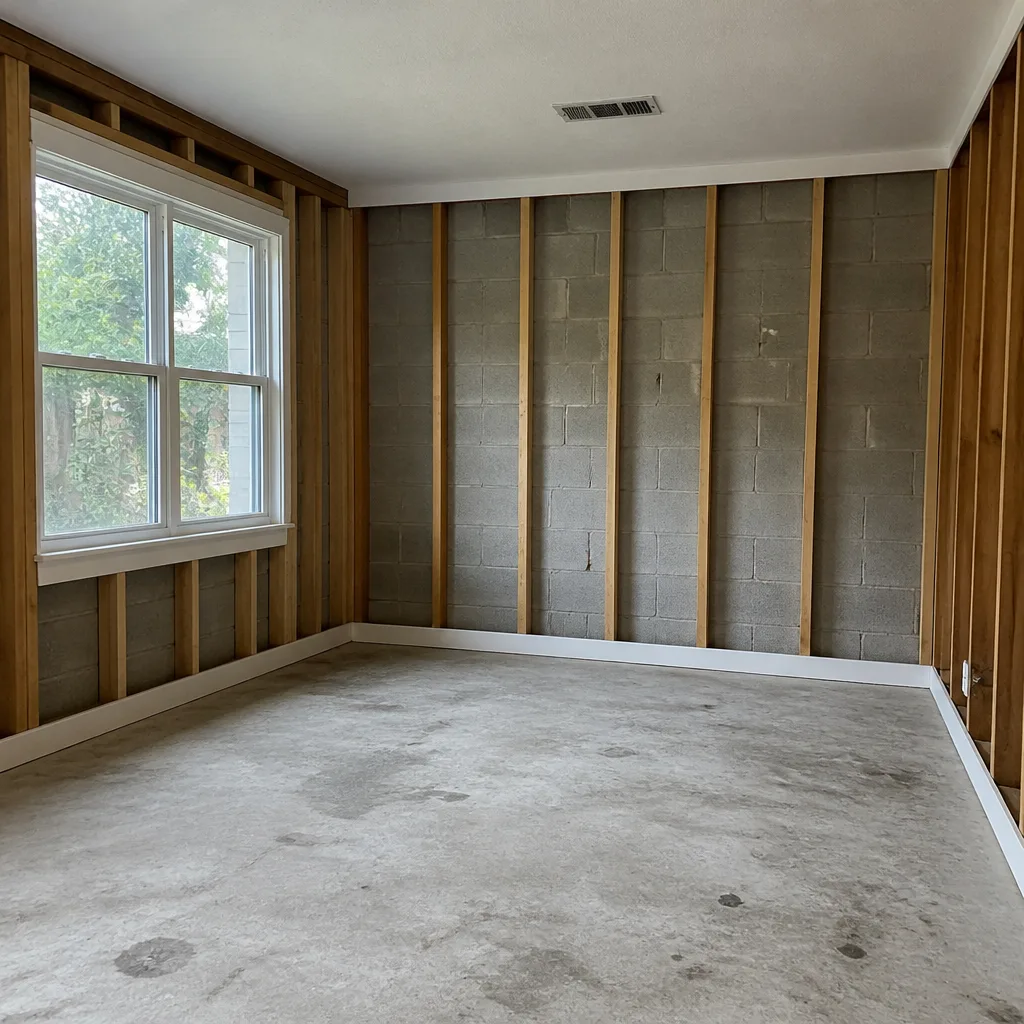

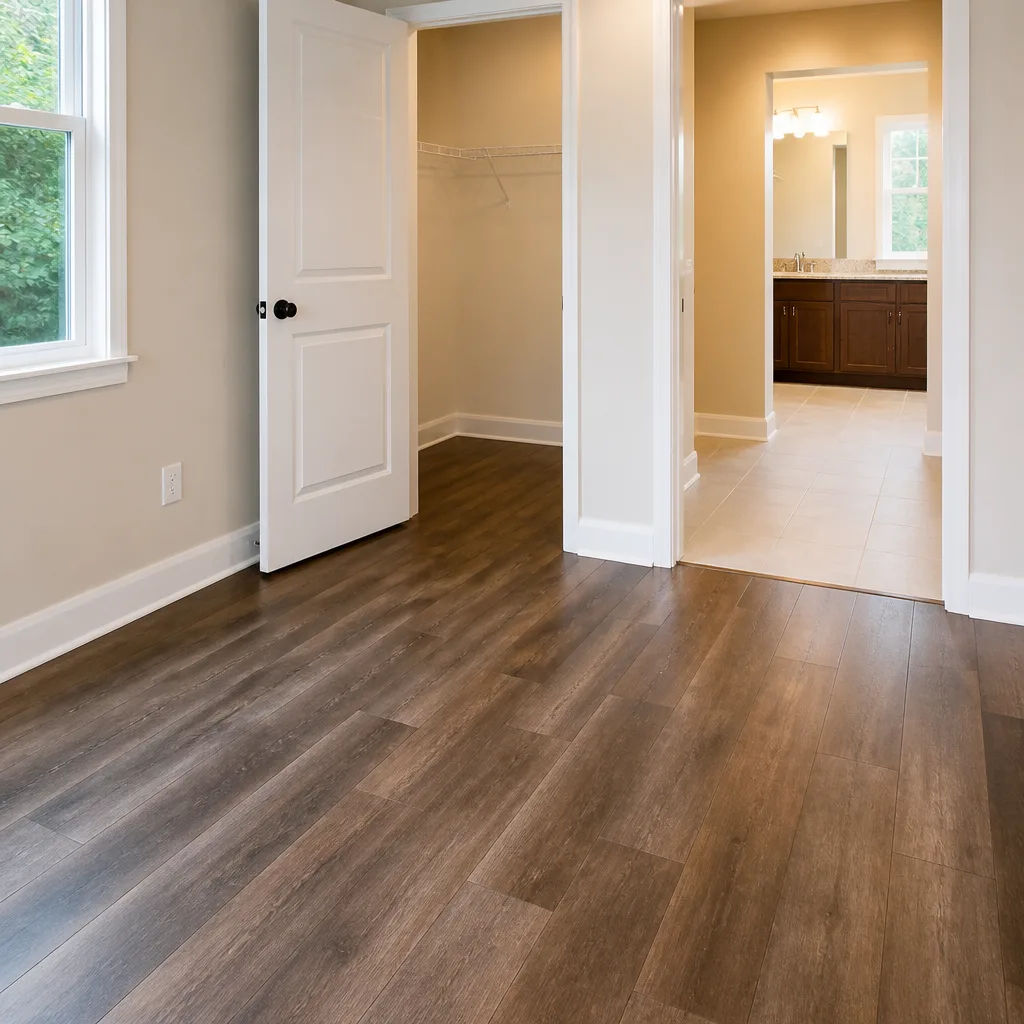
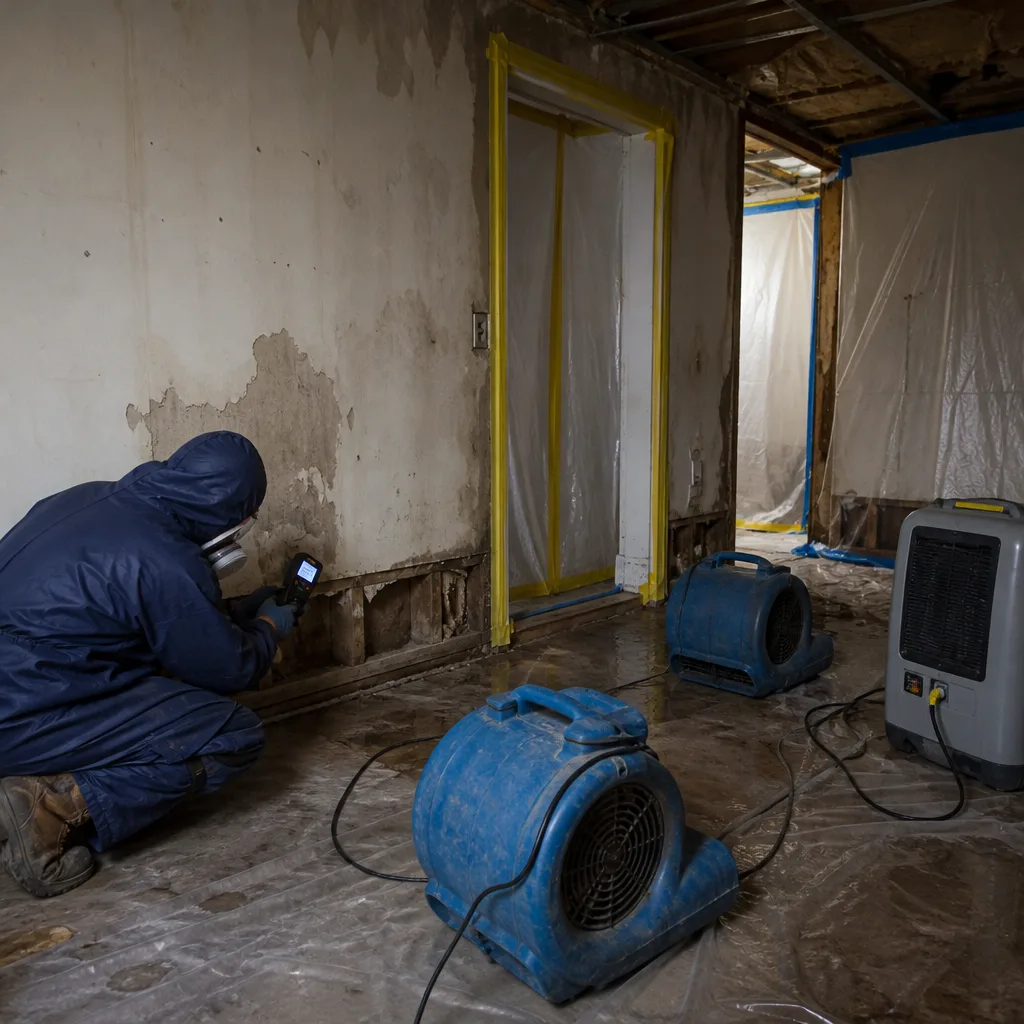 Before
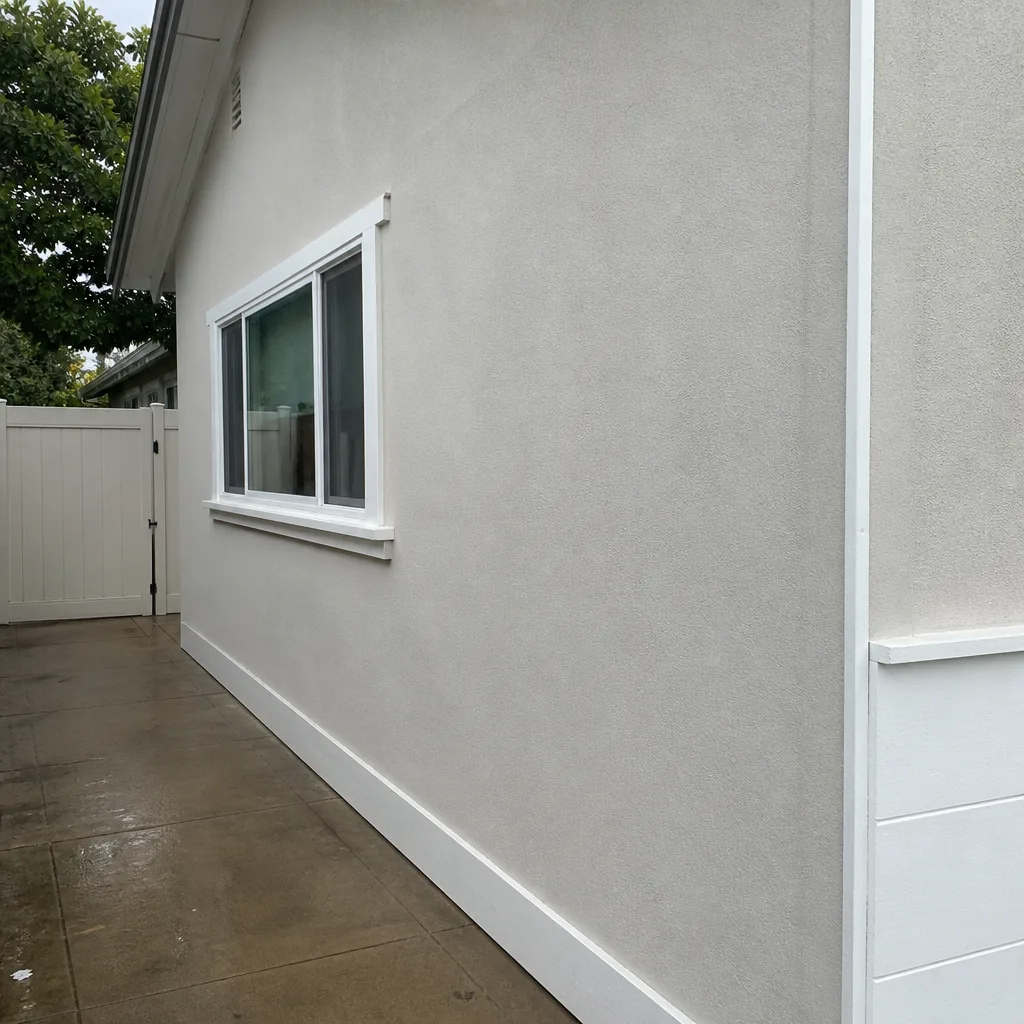 After
After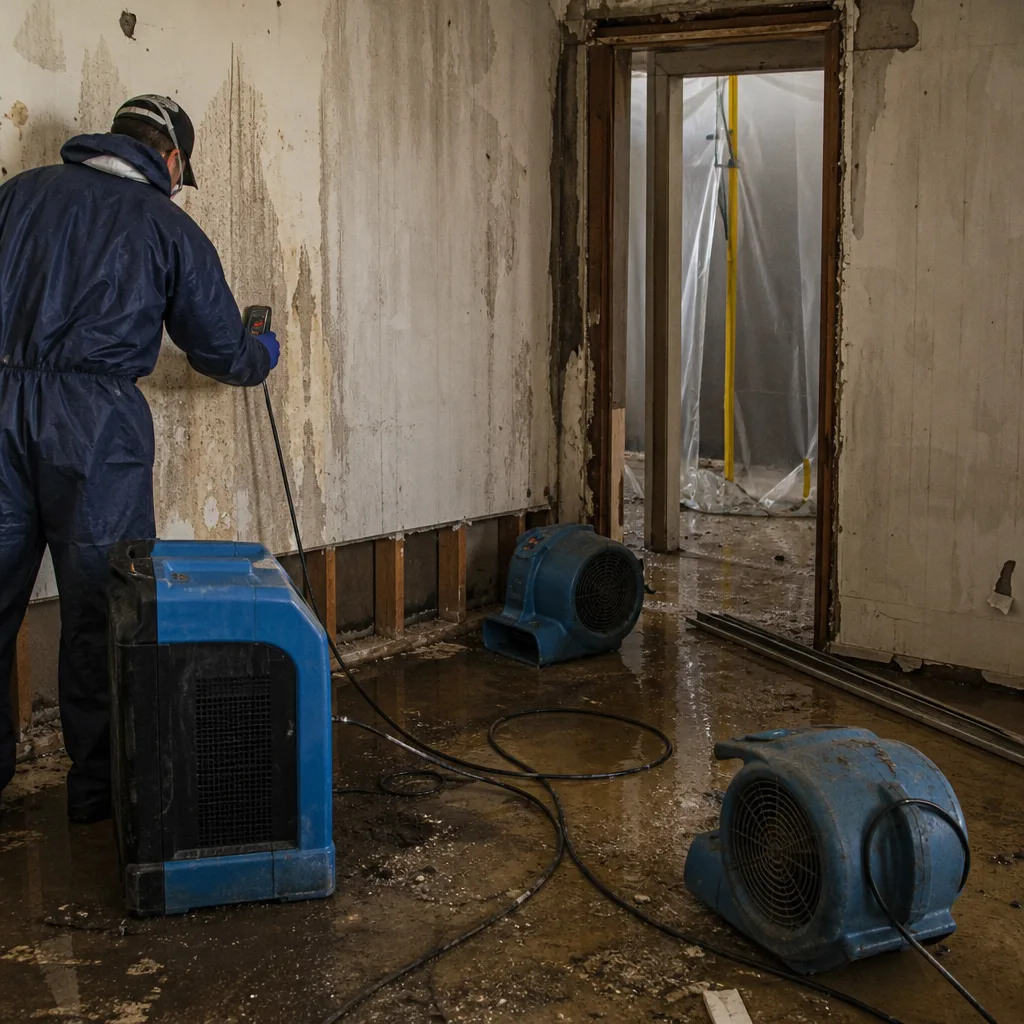 Before
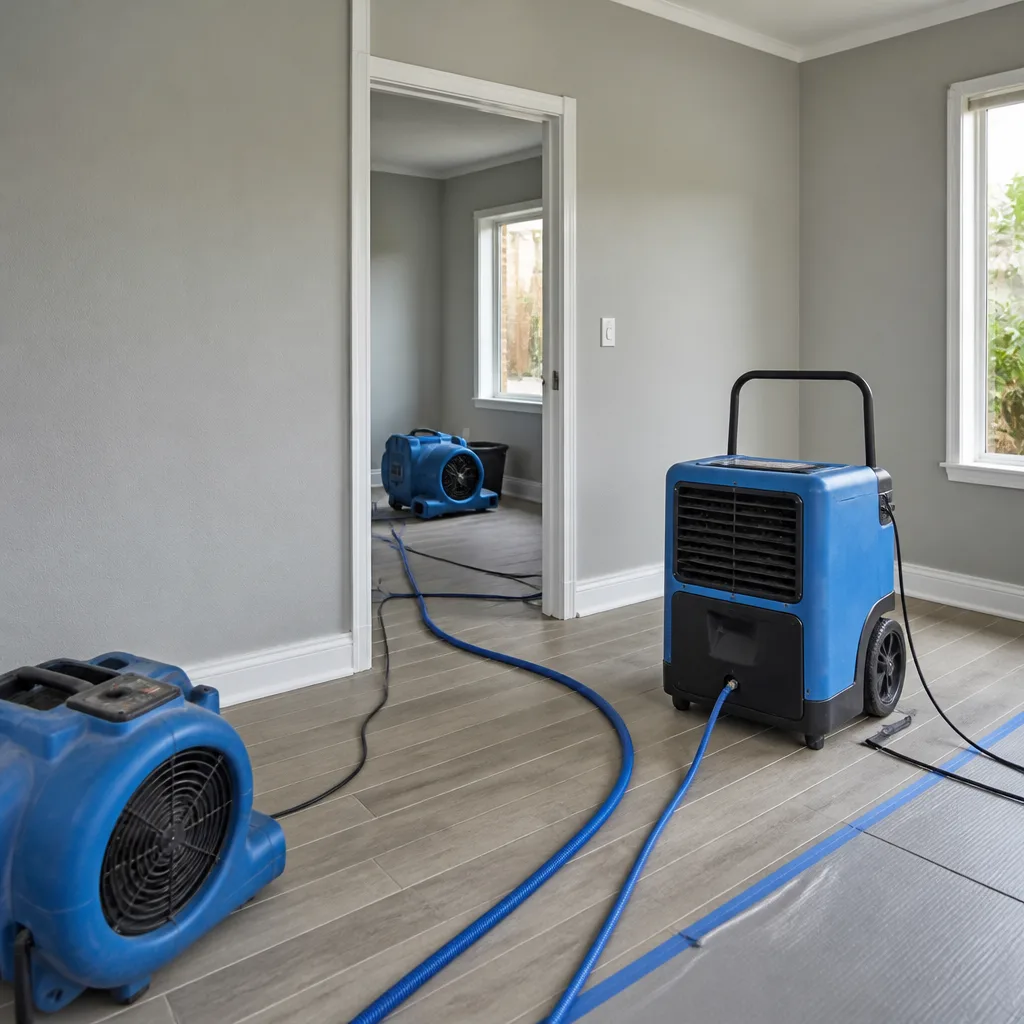 After
After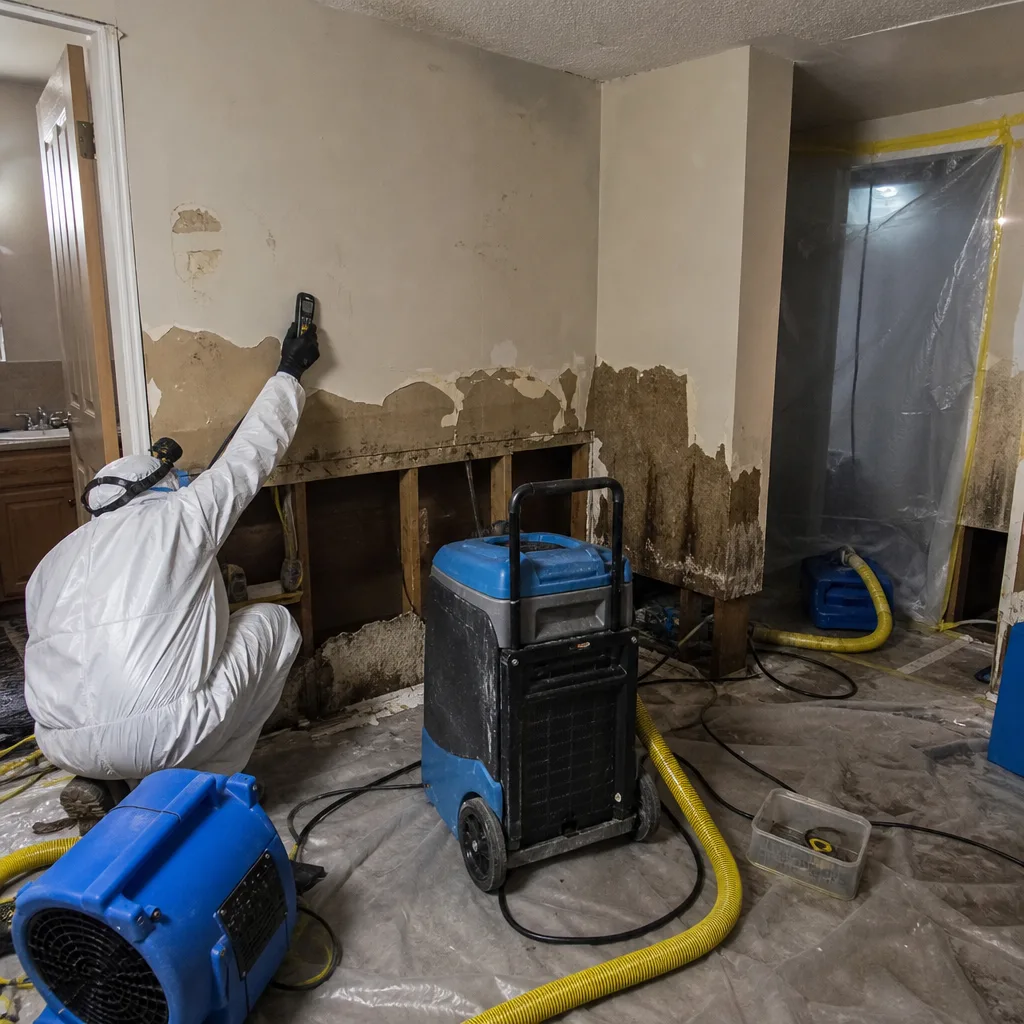 Before
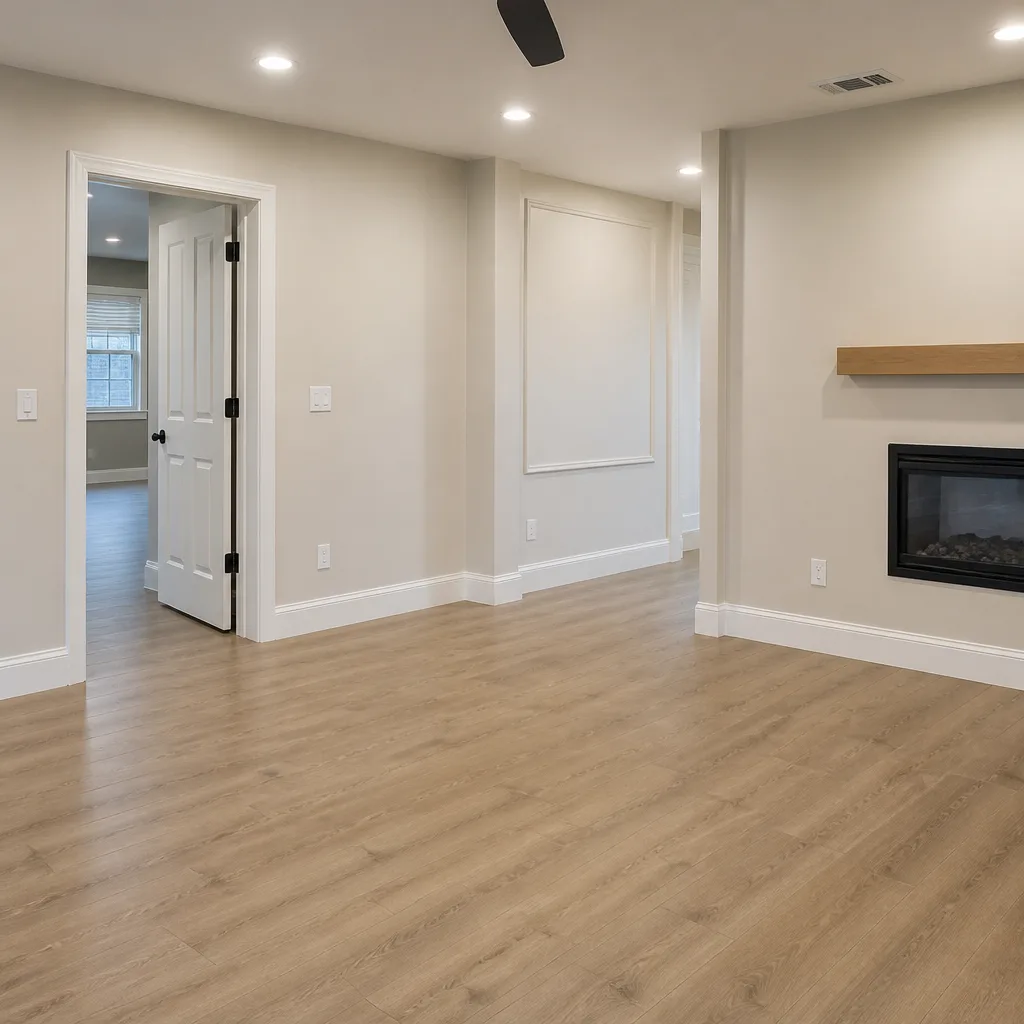 After
AfterWater Damage Restoration Troubleshooting: Common Problems and How to Fix Them
Here’s the uncomfortable truth most restoration companies won’t say out loud: a drying job that looks finished on day three can still fail by day ten. Moisture readings inside wall cavities lag surface readings by 48 to 72 hours, which means crews who pack up too early leave you with a mold problem you won’t smell for another two weeks. In Los Angeles, where stucco exteriors and older lath-and-plaster interiors trap moisture differently than modern drywall construction, this problem shows up more often than homeowners expect. This guide walks you through the exact moments restoration goes wrong, how to spot them while a job is still active, and what to do if you suspect the work wasn’t done right.
Quick Answer
Water damage restoration fails most often because equipment is removed before the structure reaches true dryness, not because the initial extraction was incomplete. You can learn more about Water Damage Restoration Warning Signs Every Homeowner Should Know to protect your home. You can verify a job yourself with a basic moisture meter by checking wall cavities, not just surfaces, and insisting on written drying records before crews demobilize. If you’re seeing cupping hardwood, efflorescence on concrete, or a musty smell that kicks in when the HVAC runs, those are the classic signs of a failed drying job that needs to be reopened.
Table of Contents
- How to Read a Moisture Meter Yourself
- The Symptom Pattern of a Failed Drying Job
- Equipment Removed Too Early: What to Do and How to Document It
- Dehumidifier Placement: How to Spot an Undertrained Crew During the Job
- False-Dry Readings: Vapor Barriers, Foil-Faced Insulation, and Tile Floors
- Documenting a Failed Job for an Insurance Dispute
- Common Mistakes to Avoid
- When to Call a Professional
- Frequently Asked Questions
- The Bottom Line
How to Read a Moisture Meter Yourself
You don’t need to be an IICRC-certified technician to verify whether your walls are actually dry. A basic pin-type moisture meter costs between $30 and $80 at any hardware store, and learning to read one takes about ten minutes. The numbers matter more than most homeowners realize, because there’s a wide gap between what a contractor might call “acceptable” to close a job early and what the IICRC S500 standard actually requires for structural dryness.
Here’s what the readings mean in plain terms. For drywall, a moisture content reading below 5% on a wood moisture equivalent scale is generally considered dry. Between 5% and 12% means the material is still releasing moisture and drying equipment should stay in place. Above 12% means active drying is still required, and above 17% suggests the drywall is saturated enough that replacement may be the more honest option than trying to dry it in place. For hardwood flooring, the target is typically 6% to 9%, and anything above 12% means the wood is still swollen enough to cup or buckle. Concrete slabs are trickier because they always hold some moisture, but a relative humidity reading inside the slab above 80% means water is still migrating upward.
One measurement we see get skipped constantly is the in-cavity check. Surface readings on painted drywall can look perfectly dry while the framing behind it is still soaked, because paint and primer act as a partial moisture barrier. An experienced tech will drill small probe holes or use a non-invasive meter to check what’s happening inside the wall cavity. If your restoration company only ever checks surfaces with a non-penetrating meter, that’s a warning sign worth asking about. In Los Angeles, where many homes built before 1980 have plaster over wood lath, surface-only readings are especially misleading because plaster dries slowly and hides moisture behind it for weeks.
The Symptom Pattern of a Failed Drying Job
Failed drying jobs announce themselves in specific, repeatable ways. You don’t need a meter to spot them, though the meter confirms what your eyes and nose are already telling you. The pattern tends to follow a sequence, and recognizing it early is the difference between a simple re-dry and a full mold remediation.
Cupping hardwood is usually the first sign. When wood flooring absorbs moisture unevenly, the edges of each board curl upward while the center stays lower, creating a washboard effect. Cupping alone doesn’t mean the floor is ruined. If caught within the first few weeks, refinishing after proper drying often restores it. But cupping that persists past 30 days usually means the subfloor below is still wet, and the fix becomes a tear-out instead of a sand-and-refinish.
Efflorescence, those white salt crystals that appear on concrete, is another tell. It happens when water moves through concrete and carries dissolved minerals to the surface, where they crystallize as the water evaporates. Efflorescence on a slab weeks after a restoration job wrapped means water is still moving through the concrete from somewhere, usually a broken supply line under the slab or groundwater wicking up from below. It’s not just cosmetic; it’s evidence of ongoing moisture migration.
The most common complaint we hear in Los Angeles, though, is the HVAC-triggered smell. A musty odor that only appears when the air conditioning or heater kicks on means mold or bacteria is growing somewhere in the ductwork, the air handler, or the wall cavity behind a return vent. What happened is this: the original drying job didn’t address the HVAC system at all, or equipment was removed before the ductwork and surrounding framing reached target dryness. The moisture sat in a dark, warm space, and microbial growth followed. By the time you smell it, the colony is established enough that cleaning alone won’t solve the underlying moisture problem.
Equipment Removed Too Early: What to Do and How to Document It
The single most common reason our Water Damage Restoration services see failures is straightforward: the drying equipment came out before the structure was dry. Crews get pulled to the next job, the homeowner doesn’t know what questions to ask, and a tech who wants to close out the file takes a few surface readings and declares victory. You can absolutely push back, and you should.
The IICRC S500 is the recognized industry standard for water damage restoration, and it establishes specific dryness goals that must be met before a job can be considered complete. These goals are based on equilibrium moisture content, meaning the affected materials should return to the same moisture level as unaffected materials in the same structure. If your hallway drywall reads 4% but the previously flooded wall still reads 11%, the job is not done, regardless of what the tech says.
Here’s the documentation process we recommend if you suspect equipment was pulled early:
- Photograph the affected areas immediately, before anything is cleaned or moved. Date-stamp the photos and include a reference object like a coin or ruler for scale.
- Take your own moisture readings with a pin-type meter if you have one. Record the numbers, the date, and the exact location of each reading. Probe below the surface on drywall and check multiple depths.
- Request the drying log from your restoration company. Every legitimate drying job includes daily humidity and moisture readings. If the company can’t produce a log, that’s a red flag for your insurer, and it’s worth noting that a written drying record is part of the standard of care under IICRC S500.
- Document the equipment that was on site: how many air movers, how many dehumidifiers, and where they were placed. Photos of equipment placement during the job become evidence later if a dispute arises.
- Write down the dates equipment arrived and was removed. The number of drying days matters. A job that ran two days of equipment on a Category 2 water loss (gray water from a washing machine overflow, for example) is suspiciously short; most structural drying jobs in Los Angeles take four to seven days minimum, often longer in coastal neighborhoods where ambient humidity stays high.
This documentation matters because insurance adjusters respond to evidence, not feelings. A homeowner who can show readings, photos, and a missing drying log has a materially stronger position than one who simply says the job didn’t feel finished.
Dehumidifier Placement: How to Spot an Undertrained Crew During the Job
You can tell a lot about how a restoration job is going while it’s still in progress, and dehumidifier placement is one of the most reliable tells. A crew that puts a dehumidifier in the center of a room, away from the wet wall, is either undertrained or rushing. Neither is acceptable.
Here’s why placement matters. Dehumidifiers work by pulling moisture-laden air across cold coils, condensing the water out, and exhausting dry air. That process works best when the dehumidifier is positioned so that dry exhaust air blows toward the wet materials, while the intake side draws in the damp air that’s evaporating off them. A dehumidifier sitting in the middle of the room is conditioning air that’s already relatively dry, while the wet wall cavity sits untouched. It’s like pointing a fan at an empty chair and expecting the wet carpet to dry.
The same logic applies to air movers. These high-velocity fans should be aimed at an angle against the wet surfaces, creating turbulence across the surface to accelerate evaporation. If air movers are pointed at the ceiling or arranged haphazardly, evaporation slows, drying time extends, and the risk of mold in hidden cavities increases.
Professional-grade equipment makes this easier to get right, which is why we run Phoenix and Dri-Eaz dehumidifiers with XPOWER air movers on our Los Angeles jobs. These units move enough air volume to dry wall cavities when positioned correctly. But even the best equipment can’t overcome bad placement. If you walk through a drying job and the dehumidifier is parked in the middle of the room with no clear airflow pattern toward the affected walls, ask why. A tech who can explain the airflow plan confidently is doing the job correctly. One who shrugs is guessing.
False-Dry Readings: Vapor Barriers, Foil-Faced Insulation, and Tile Floors
Moisture meters are only as good as the person using them, and several common building materials are very good at fooling a surface reading into showing dry when the substrate underneath is still soaked. Understanding these false-dry scenarios helps you ask the right questions before a crew declares victory.
Vapor barriers are the most common culprit. A plastic vapor barrier behind drywall or under flooring is designed to stop moisture migration, which means it also stops a non-invasive moisture meter from seeing what’s on the other side. In Los Angeles, vapor barriers appear most often in bathrooms, laundry rooms, and on exterior walls in newer construction. If a tech is scanning a wall that has a vapor barrier behind it and getting a clean reading, that reading means almost nothing. The moisture could be pooled against the barrier, invisible to the meter.
Foil-faced insulation creates the same problem. The aluminum foil layer reflects moisture meter signals, producing an artificially low reading even when the insulation itself is saturated. This is a known issue in Southern California homes built with radiant barrier insulation in attics and exterior walls. A tech who understands building science will note the presence of foil-faced insulation and either use a pin meter that physically penetrates to the insulation layer or document that readings are unreliable in those areas.
Tile floors are perhaps the trickiest of all. Ceramic and porcelain tile are nearly impermeable, so a surface reading on tile tells you almost nothing about what’s happening in the mortar bed or subfloor below. We’ve seen tile floors in Los Angeles that looked perfectly dry on the surface while the mortar bed underneath held enough moisture to support mold growth for weeks. The correct approach is to take readings at grout lines with a pin meter, or to drill small test holes in inconspicuous areas and probe below the tile.
The takeaway here isn’t that moisture meters are unreliable. They’re essential tools. The takeaway is that surface readings alone can’t certify a job as dry, and any restoration company that relies exclusively on non-invasive surface scans is cutting corners you’ll pay for later.
Documenting a Failed Job for an Insurance Dispute
If you’re reading this guide because a restoration job already failed and you’re now facing a mold problem or structural damage, you have options. The same documentation that prevents a bad closeout also powers a legitimate insurance dispute, and the process is more straightforward than most homeowners assume.
Start by gathering your own evidence. This means moisture readings in the affected areas, photos of visible damage, any correspondence with the restoration company, and a timeline of what happened. If you have photos from the original loss and the drying process, pull those together too. Then contact your insurance adjuster in writing and explain that you believe the restoration was incomplete and that the current damage is a consequence of premature equipment removal or inadequate drying procedures.
What happens next depends on your policy and your insurer, but here’s what we tell homeowners in this situation: your position is strongest when you can show that the original restoration did not meet the IICRC S500 standard of care. Ask for a re-inspection. Request that the adjuster send a third-party industrial hygienist to test for elevated moisture and mold. If the original restoration company was one your insurer recommended, you have additional leverage, because the insurer effectively vouched for that company’s work.
One more thing worth knowing: you are not required to use your insurer’s preferred restoration company. In California, policyholders have the right to choose their own contractor. If you’re in the middle of a loss and reading this, that choice matters. You can bring in a company that documents everything in writing and stands behind the work. The Marsh Water Damage Restoration home team has seen enough failed third-party jobs to know exactly what a proper drying plan looks like, and we document every reading, every placement decision, and every dry-down target in writing before we start.
Common Mistakes to Avoid
- Waiting to report the loss: Water damage compounds fast. In Los Angeles, where warm temperatures accelerate microbial growth, a delay of even 24 hours can turn a Category 1 clean water loss into a Category 2 or 3 situation that requires more aggressive demolition and drying. Call your insurer and a restoration company the same day you discover the water.
- Accepting surface readings as proof of dryness: If the tech didn’t check inside wall cavities, under cabinets, or below tile, the job isn’t verified. Ask specifically how in-cavity moisture was measured and what the numbers showed.
- Letting crews remove equipment without a final walkthrough: You have the right to see the final moisture readings and compare them to baseline readings from unaffected areas before equipment leaves. Don’t sign off until you’ve seen the numbers.
- Ignoring the HVAC system: Water that enters ductwork or the air handler won’t dry on its own, and running the system can spread moisture and mold spores through the entire house. Any water loss that touches the HVAC system requires a duct inspection.
- Choosing a restoration company on price alone: The cheapest bid often reflects the cheapest approach: less equipment, shorter drying time, no cavity checks. Restoration failure costs more than the original job, and you’ll be paying for it twice.
- Assuming your insurance company will catch a bad restoration job: Adjusters are busy and often rely on restoration companies’ own documentation. If the restoration company under-reports moisture readings, the adjuster won’t know unless you raise the concern.
- Wait-and-see on mold smells: A musty smell that appears after a drying job is not something that clears up on its own. It indicates active microbial growth, and the longer it persists, the more extensive the remediation becomes. For specific advice on mold problems, see our Mold Remediation in Los Angeles guide.
When to Call a Professional
Some restoration problems are DIY-solvable: a small supply line leak that you catch immediately, a single-room overflow that you extract the same day, a spot-dry with fans and a rental dehumidifier if you know the water is clean and the affected area is small. But call a professional the moment any of these conditions apply: the water sat for more than 24 hours, the affected area includes wall cavities or subflooring, the water source is gray or black water (washing machine discharge, sewage, storm backup), your HVAC system was involved, or you’re seeing any of the failed-drying symptoms described above. The cost of professional drying is a fraction of the cost of tearing out mold-damaged framing later. For full-service water extraction and drying in Southern California, see our Water Damage Restoration in Los Angeles page. Marsh Water Damage Restoration offers free estimates in Los Angeles, call (910) 613-6568, and a live person answers the phone around the clock.
Frequently Asked Questions
A correctly done restoration leaves you with written documentation showing daily moisture readings, a drying plan, and final readings that match the moisture levels of unaffected areas in your home. You should be able to walk the affected areas and see no visible staining, no cupping or buckling, no efflorescence, and no lingering musty odor. If the company can’t produce drying records or won’t show you the final numbers, the job wasn’t verified properly.
Drywall at or below 5% moisture content on a wood moisture equivalent scale is generally considered dry. Readings between 5% and 12% indicate ongoing moisture release, and anything above 12% means the material is still wet enough to require active drying or replacement. Keep in mind that these are surface or sub-surface readings; true verification requires checking the framing behind the drywall as well.
Most structural drying jobs in Los Angeles take between four and seven days, and coastal neighborhoods with higher ambient humidity often run longer. The exact timeline depends on the amount of water, the materials affected, and how quickly the loss was discovered. A drying job that wraps in two or three days is almost always too short to have achieved true structural dryness.
No. A musty smell after a drying job means microbial growth is present somewhere, typically in a wall cavity, under flooring, or in the HVAC system. It indicates the original drying was incomplete. The smell won’t resolve on its own, and the moisture source needs to be found and addressed before cleaning or remediation will work.
If the original restoration was covered by your policy and the failure resulted from inadequate work by the restoration company, your insurer may cover the additional remediation, particularly if the company was one your insurer recommended. Document everything: moisture readings, photos, correspondence, and a timeline. Request a re-inspection and ask about third-party testing. If the original company was your insurer’s preferred vendor, state that in your written communication.
Yes. California policyholders have the right to choose their own contractor. Your insurer can recommend a company, but you’re not obligated to use them. If you choose your own contractor, look for one that provides written pricing before work starts, documents drying progress daily, and stands behind the work with a specific guarantee. See our Choosing the Right Damage Restoration Brand: A Buyer’s Guide for Los Angeles for what to look for. Marsh Water Damage Restoration, serving Los Angeles since 2005, provides a written price before any work begins, a written guarantee on every repair, and a free second visit if the repair fails, the terms are printed on every work order, not buried in fine print. Call (910) 613-6568 for a free estimate.
The Bottom Line
Water damage restoration fails most often in the days after the emergency response, when equipment comes out too early and moisture continues migrating through framing, insulation, and subflooring. The fix is knowledge and documentation: know what a moisture meter should read, know what false-dry readings look like, know the symptom pattern of failed drying, and document everything in writing. Browse more guides & resources to stay informed. In Los Angeles, where construction styles vary from 1920s lath-and-plaster to modern stucco, no single drying approach works for every home, which makes verification even more important. Marsh Water Damage Restoration has been drying Southern California homes since 2005, and we put our drying targets, our moisture readings, and our guarantee in writing on every job. If you’re dealing with water damage now or suspect a previous restoration failed, call (910) 613-6568. A live person answers, day or night, and the estimate is free.
Written by Tobias Reyner, Owner at Marsh Water Damage Restoration, serving Los Angeles since 2005.